© 2024 Hexagon AB and/or its subsidiaries
© 2024 Hexagon AB and/or its subsidiaries
Approach new digital application challenges with ease by accurately locating a point in 3D coordinate space.

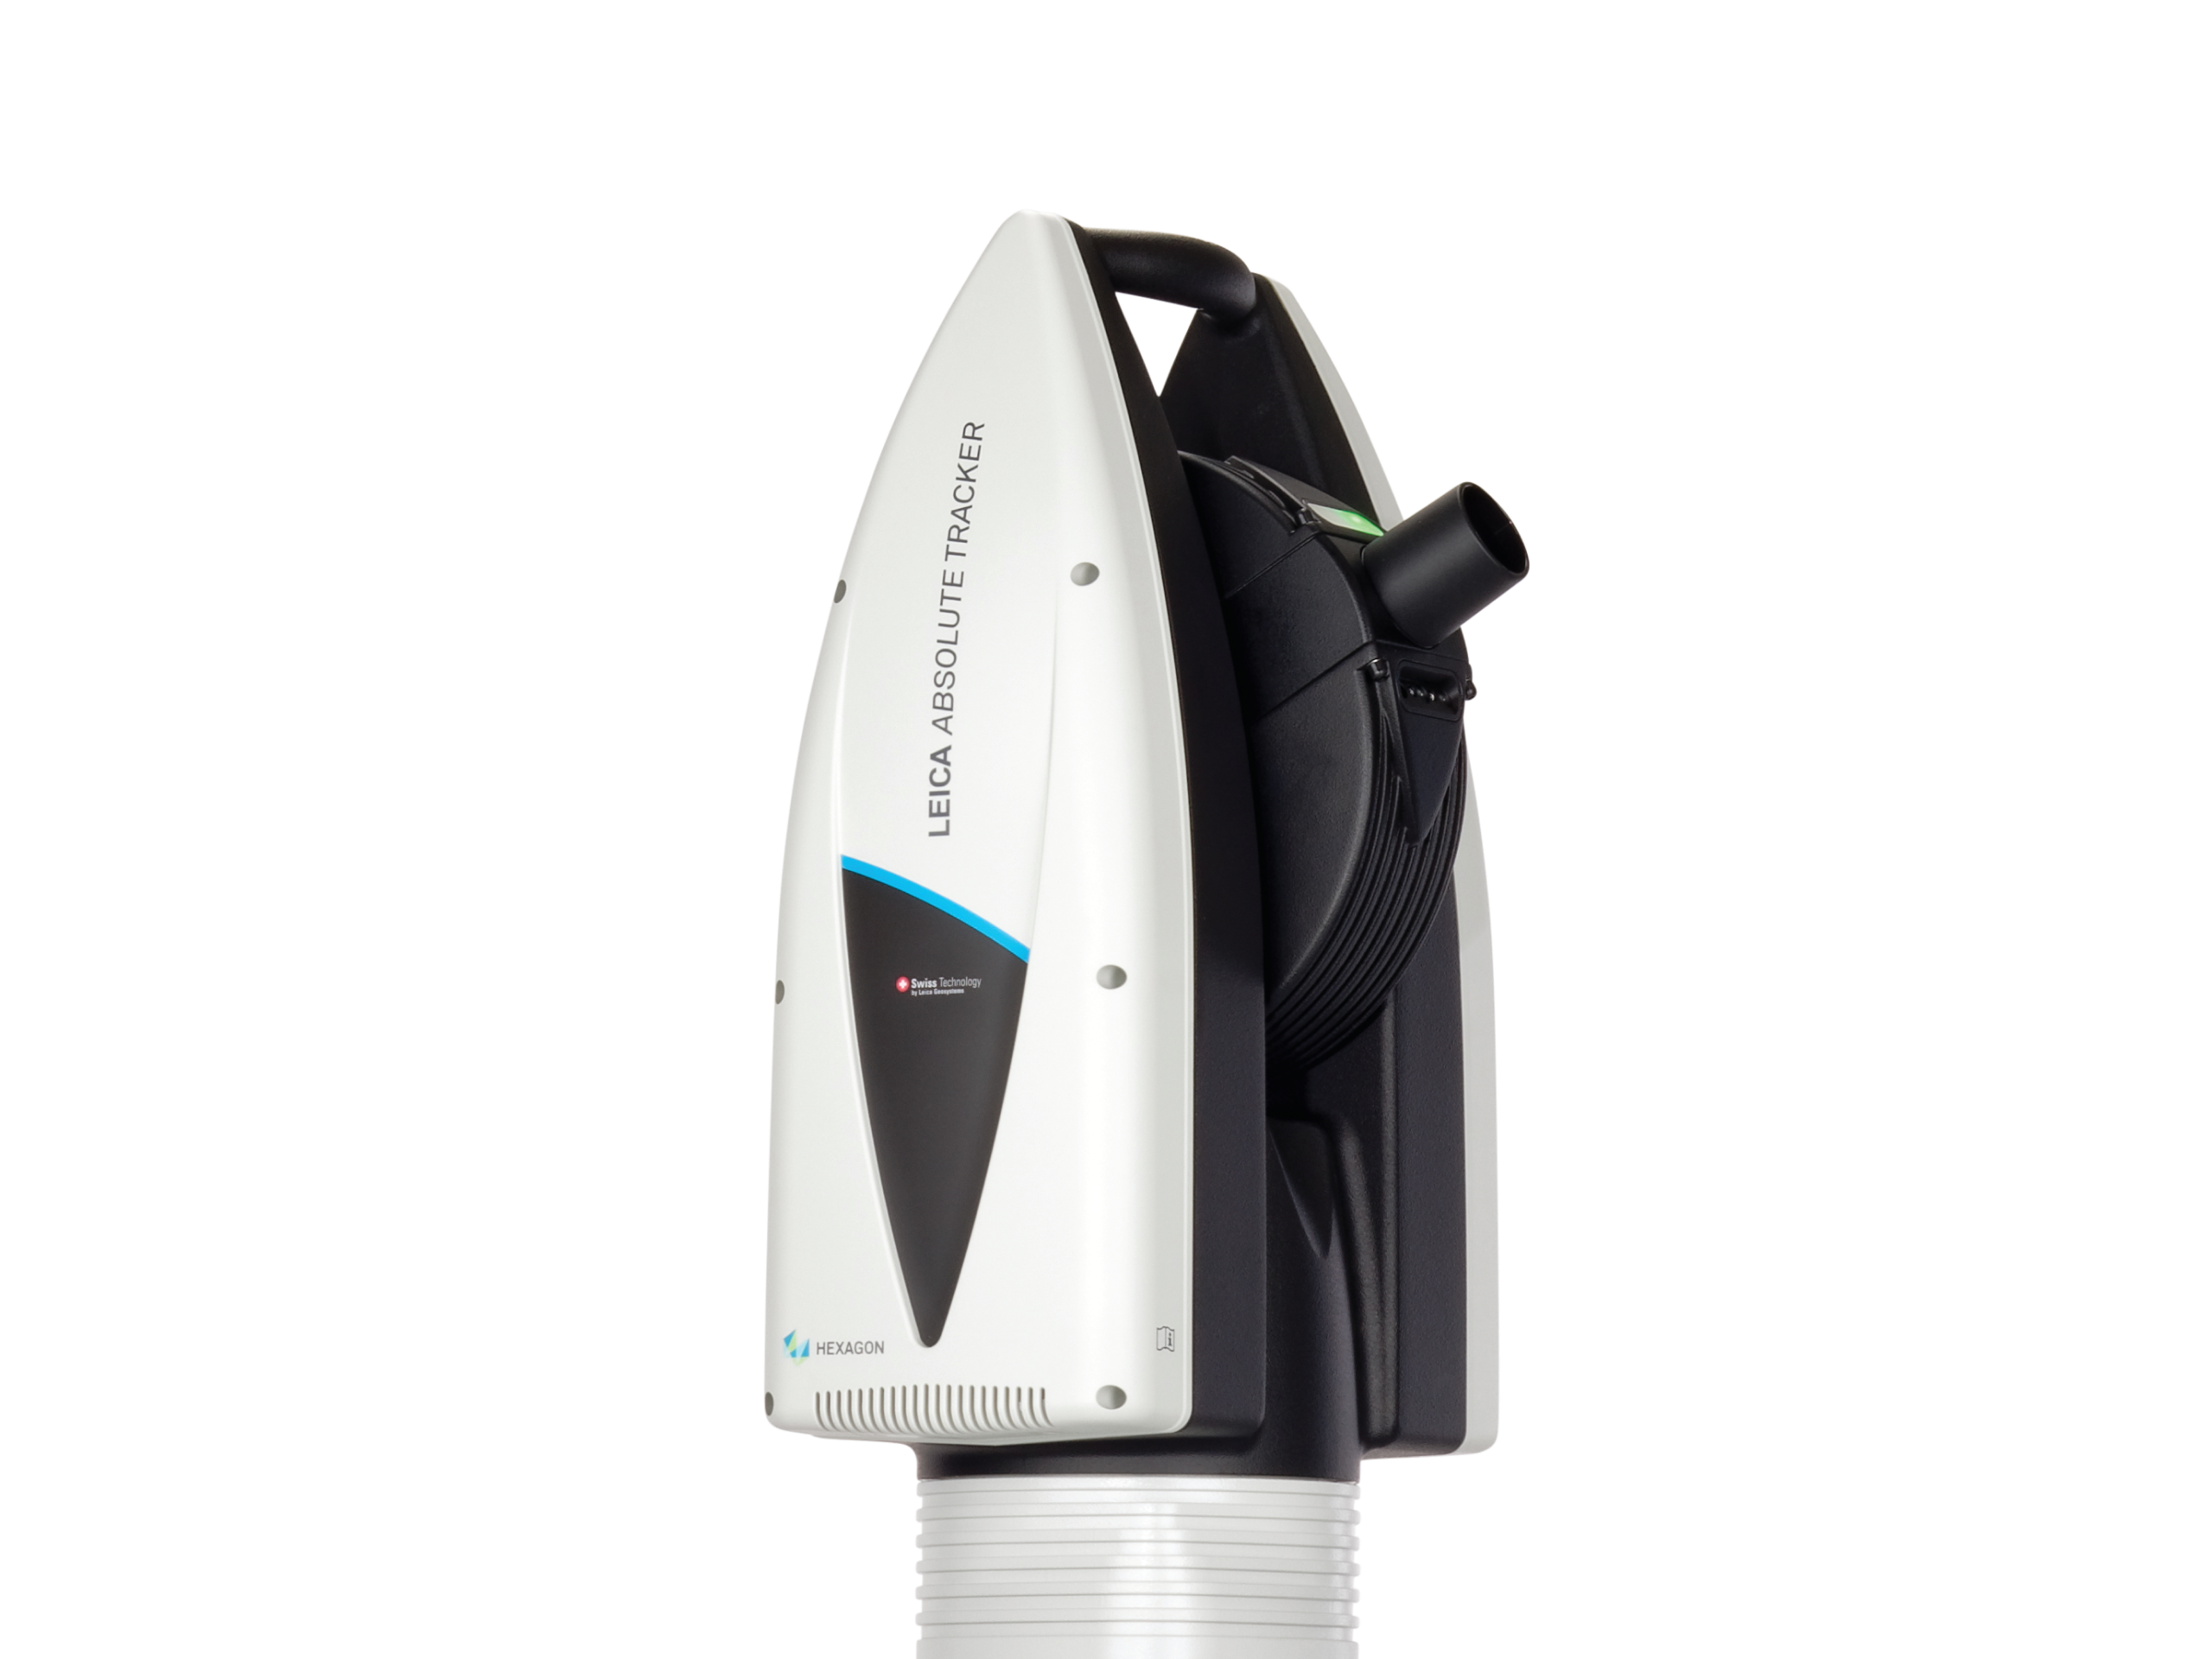
Manufacturers are increasingly interested in digitally pinpointing and inspecting large parts and surfaces that are simply out of range of a traditional handheld 3D laser scanner, touch probe or reflector. The Leica Absolute Tracker ATS600 is ready to meet the challenges of these new applications with a unique working principle that can accurately locate a point in 3D space with metrology-grade accuracy without the need for a reflector at the point of measurement.
The first ever Scanning ADM allows the ATS600 to accurately locate a point in 3D coordinate space either with or without a reflector, allowing for standard laser tracker single-point measurements alongside the unique ability to digitise a surface from up to 60 metres distance with no target in place at the point of measurement.
Define your target measurement area with the integrated Overview Camera or by using CAD data within your software and the system will limit its measurement process to exactly the area required – no need to mess around with parsing the data of a full-dome scan to collect a few degrees-worth of measurement data.
ATS600 is particularly powerful when using both direct scanning and reflector measurement within the same process, whether that’s quality inspection of large parts using scanning for surfaces and a reflector for features, or build and adjust procedures where scanning provides a complete picture of the assembly and reflector measurement delivers a more accurate position reference.
The expected independent hot-swappable battery power supply is also standard for the ATS600, allowing for quick and easy cable-free setup in almost any location for better portability – ideal for a laser tracker cleared well-suited to use around large-scale worksites.
The built-in WiFi connectivity of the ATS600 adds to the impressive portability of the system, while also allowing for even easier control of a unit that can fully deliver with just a single operator.
Accuracy
+/-15 μm + 6 μm/m (with reflector)
±50 µm + 10µm/m (reflectorless)
Measurement range
0.8 to 80 m
1.5 to 60 m (direct scanning)
Measurement mode
Stationary, Continuous (Reflector)
Reflector less scanning
Operating temperature
0°C to +40°C
Data output
1000 Hz
Protection class
IP 54
Tracker size and weight
258 x 239x 477 mm | 14.2 kg
Certification
According to ISO 10360-10